
Building the Tomb’s Final Confrontation
One of the most fun parts of bringing The Tomb Beneath the Red Sands to life at my table was building the final boss encounter as a full 3D setup.
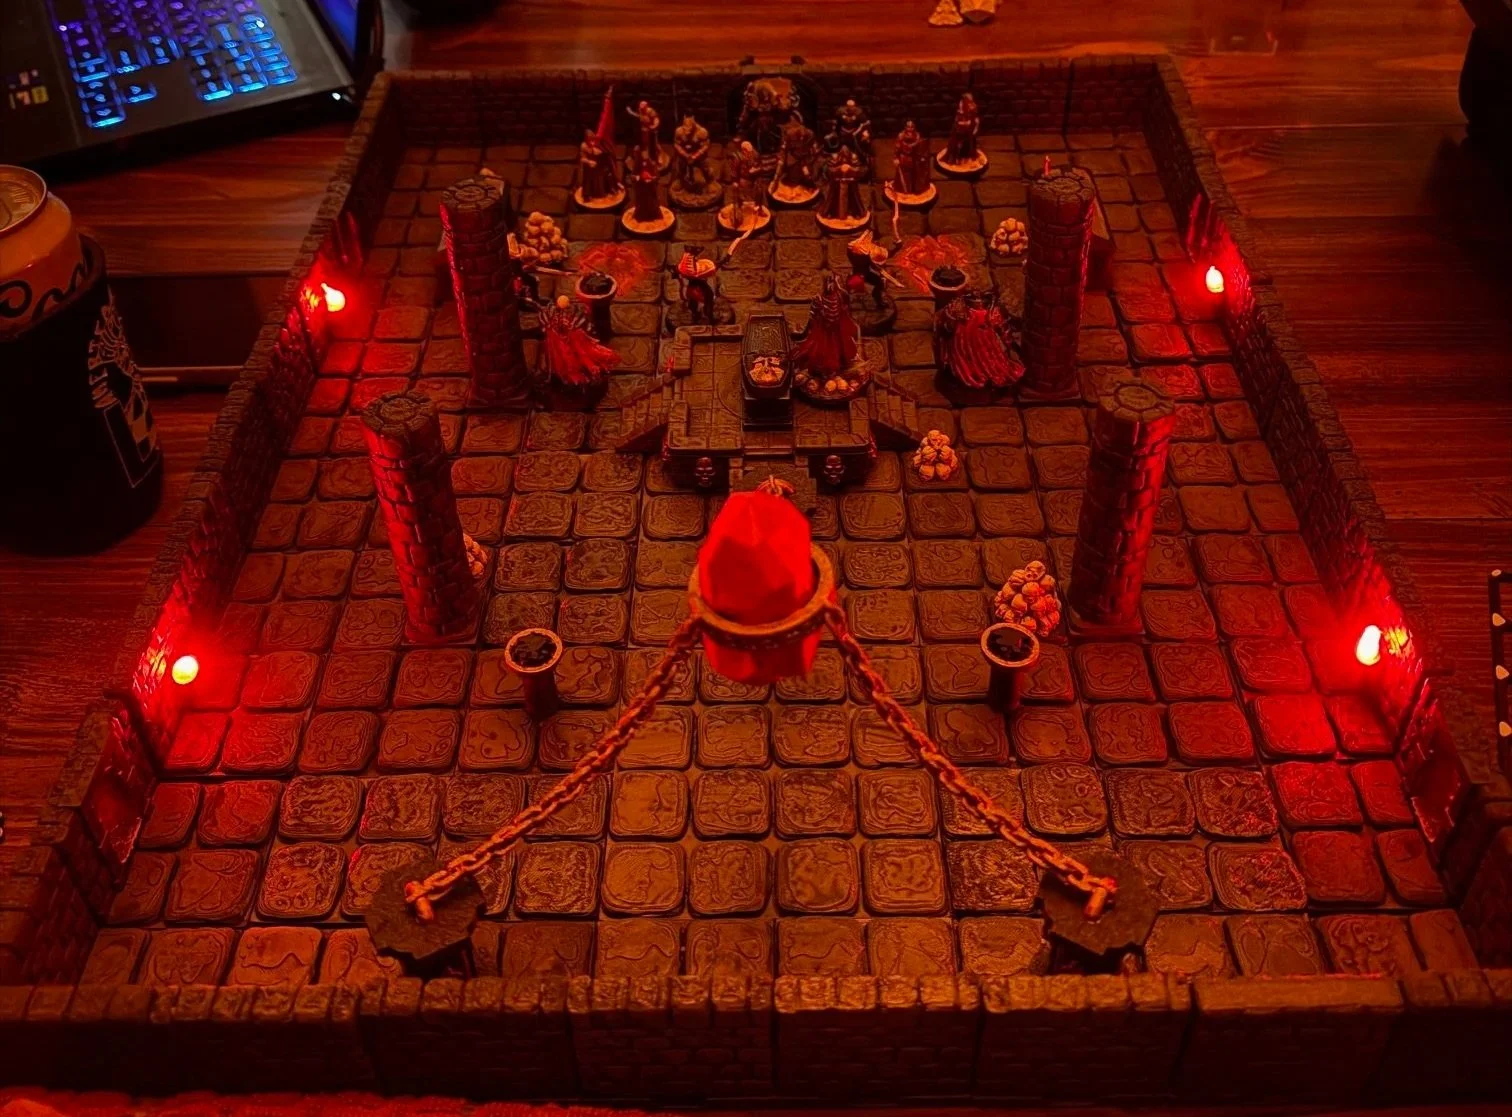
I wanted the last battle to feel like more than a map on a page. It needed to feel like a true set piece: a ritual chamber, a tomb of ancient power, and the kind of room where players immediately know something terrible is about to happen. Mission accomplished.
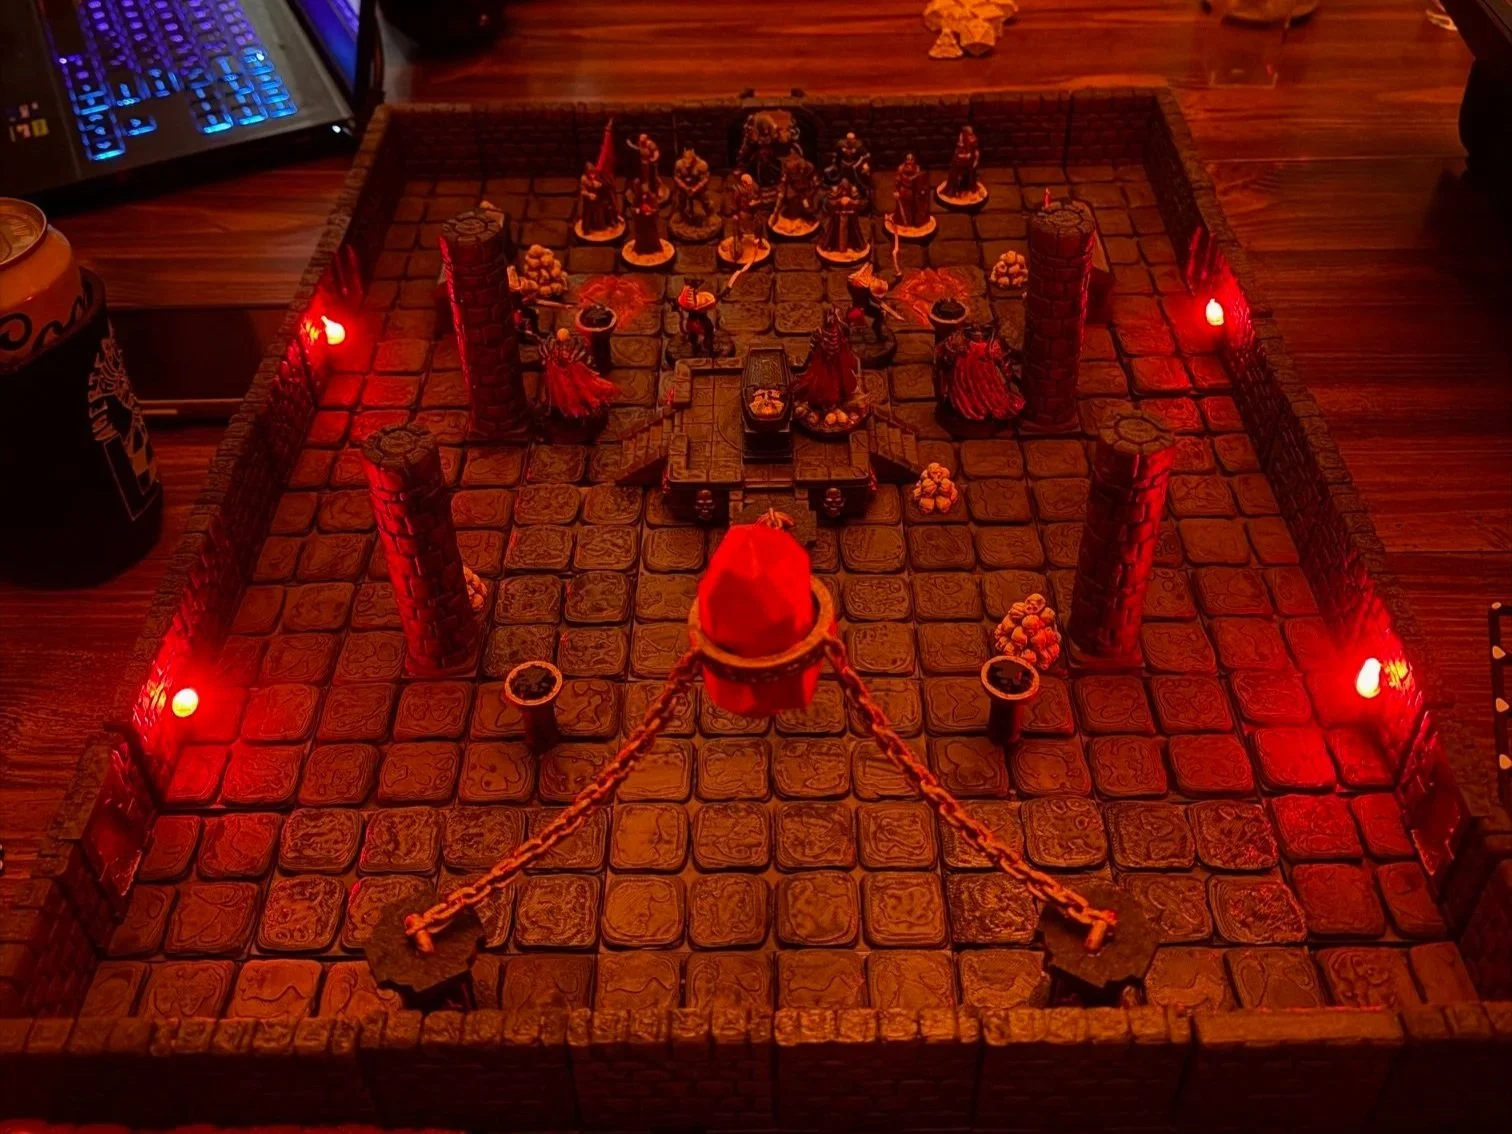
The completed chamber during the final confrontation.
Building the Arena
For the foundation of the encounter, I used OpenForge 2.0 dungeon tiles. The modular system made it easy to build the chamber piece by piece, test different layouts, and adjust the battlefield before committing to the final setup.
I wanted the arena to have enough structure to feel like an actual tomb chamber without becoming crowded or difficult to play on.
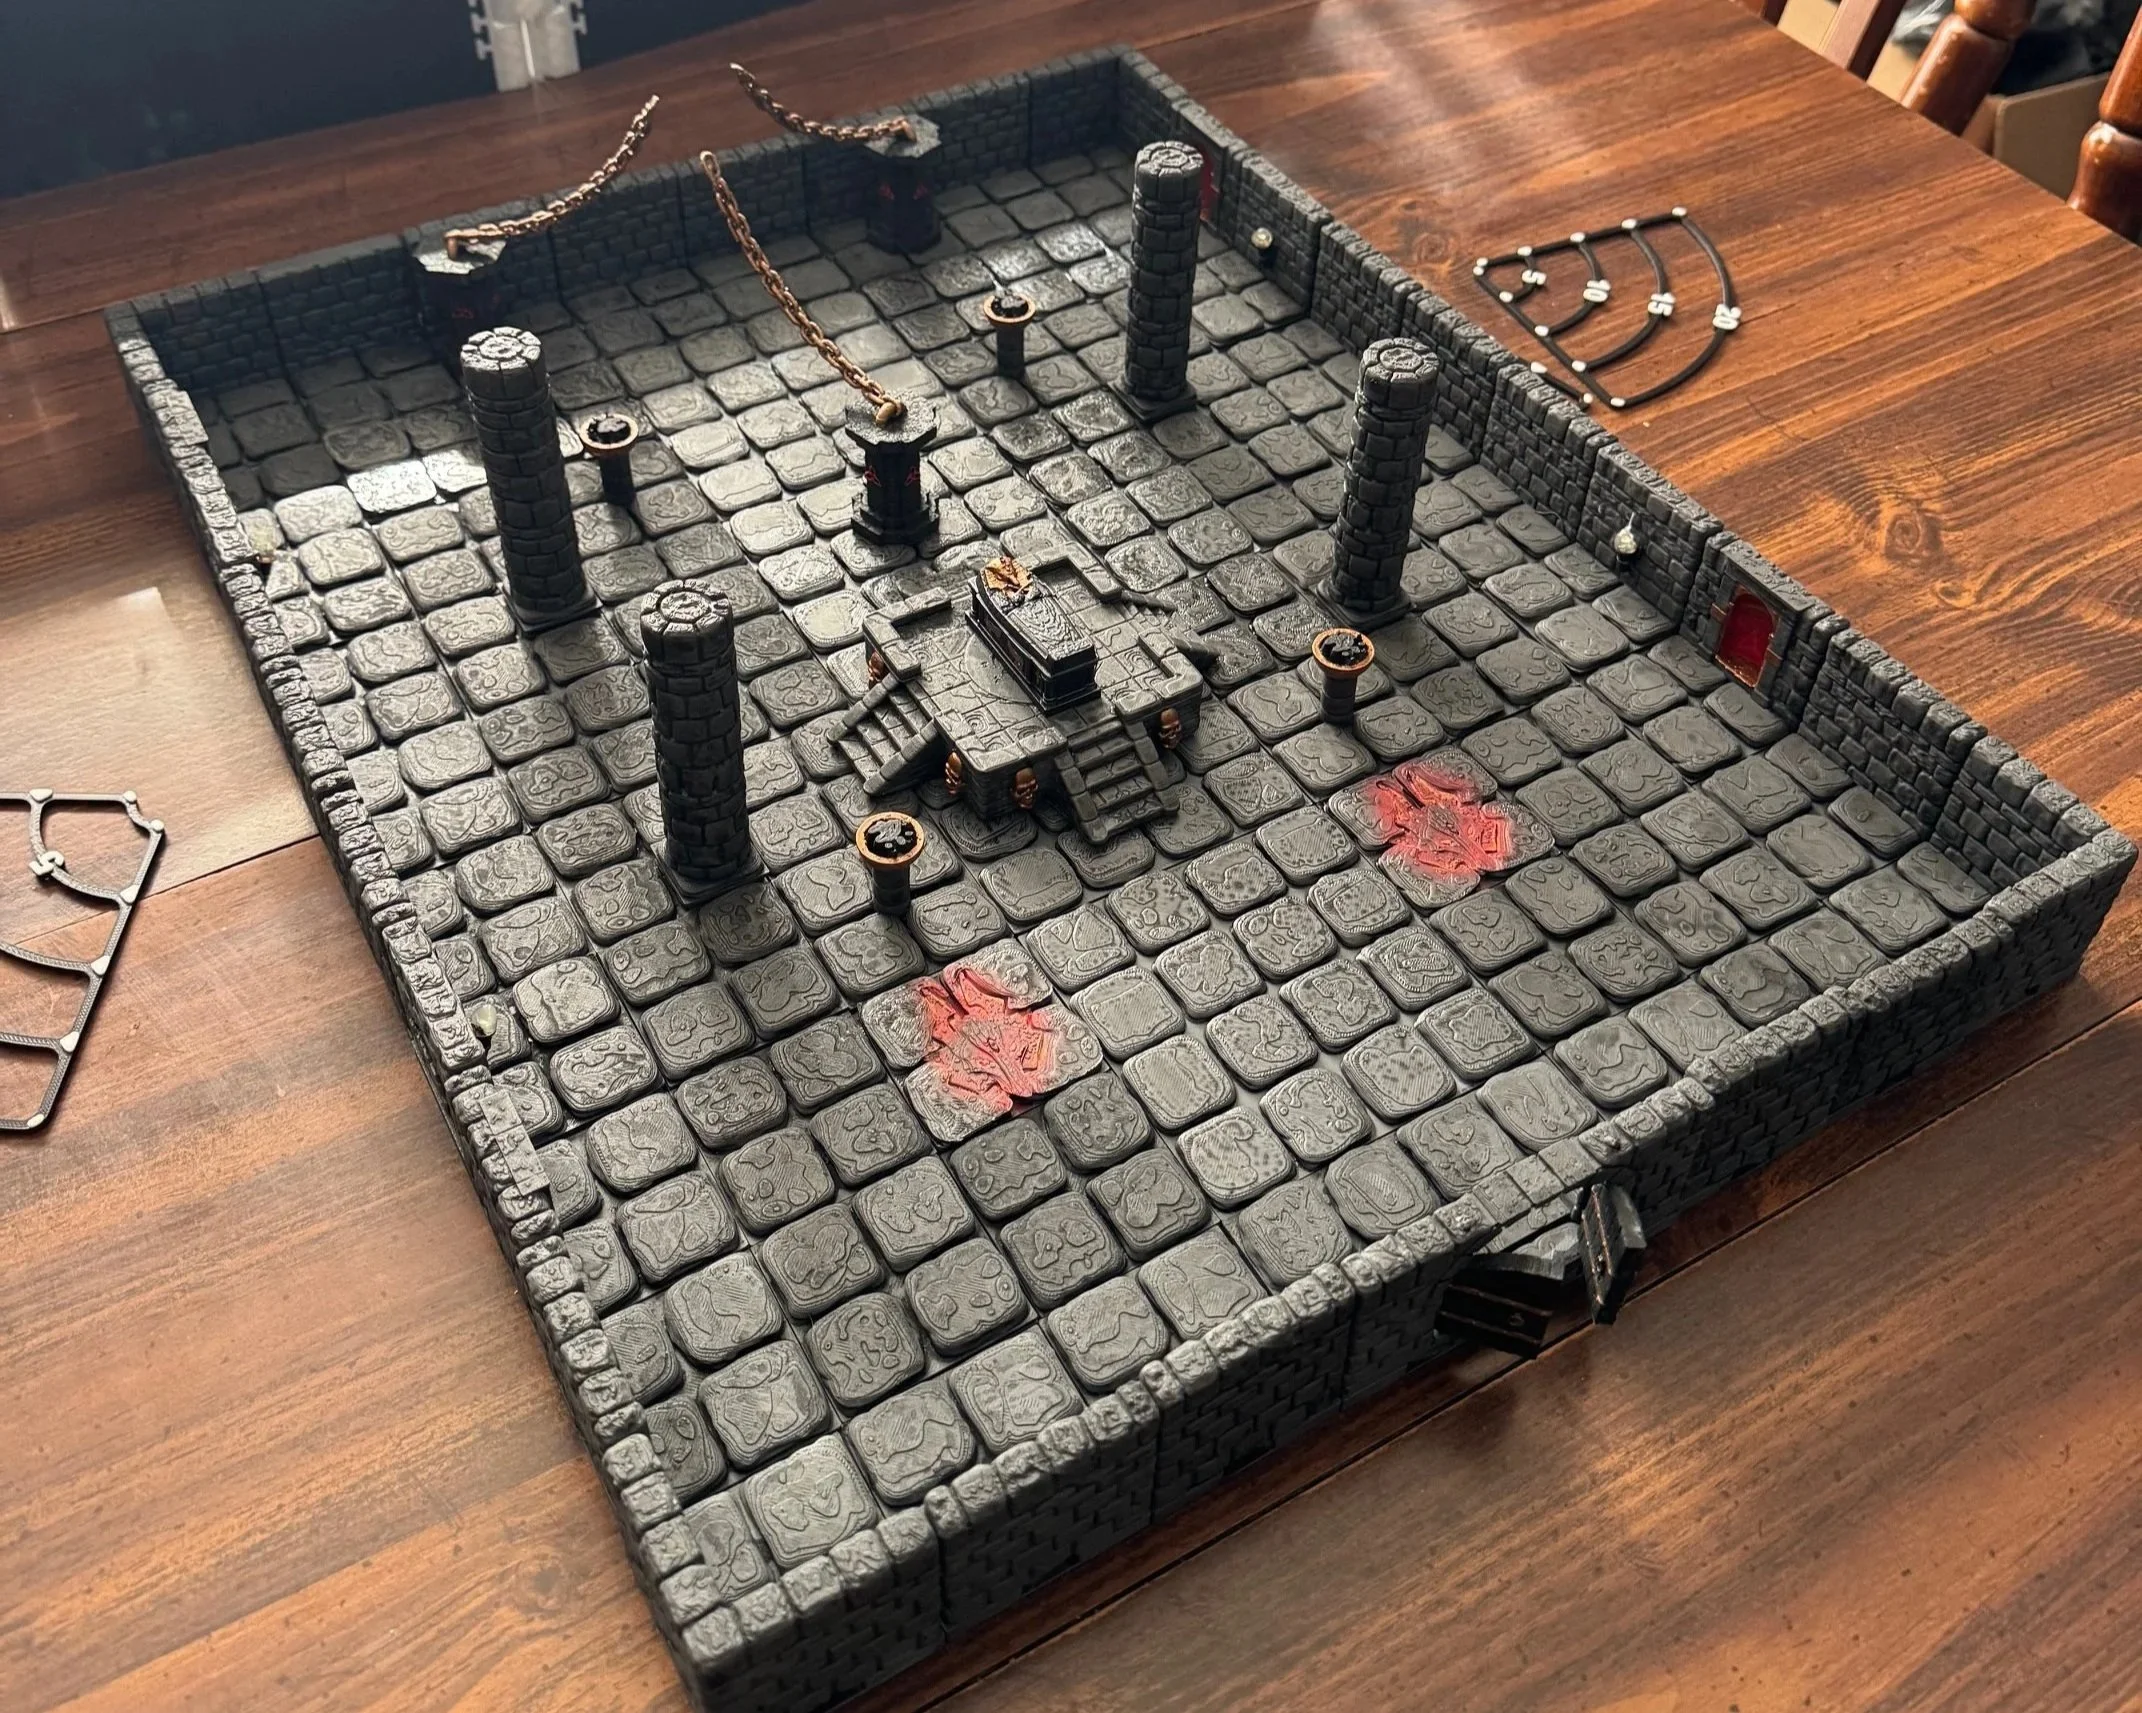
The chamber assembled before the final encounter setup.
The room was built around a raised central tomb, surrounding pillars, braziers, wall sections, and the large suspended crystal that became the visual centerpiece of the encounter.
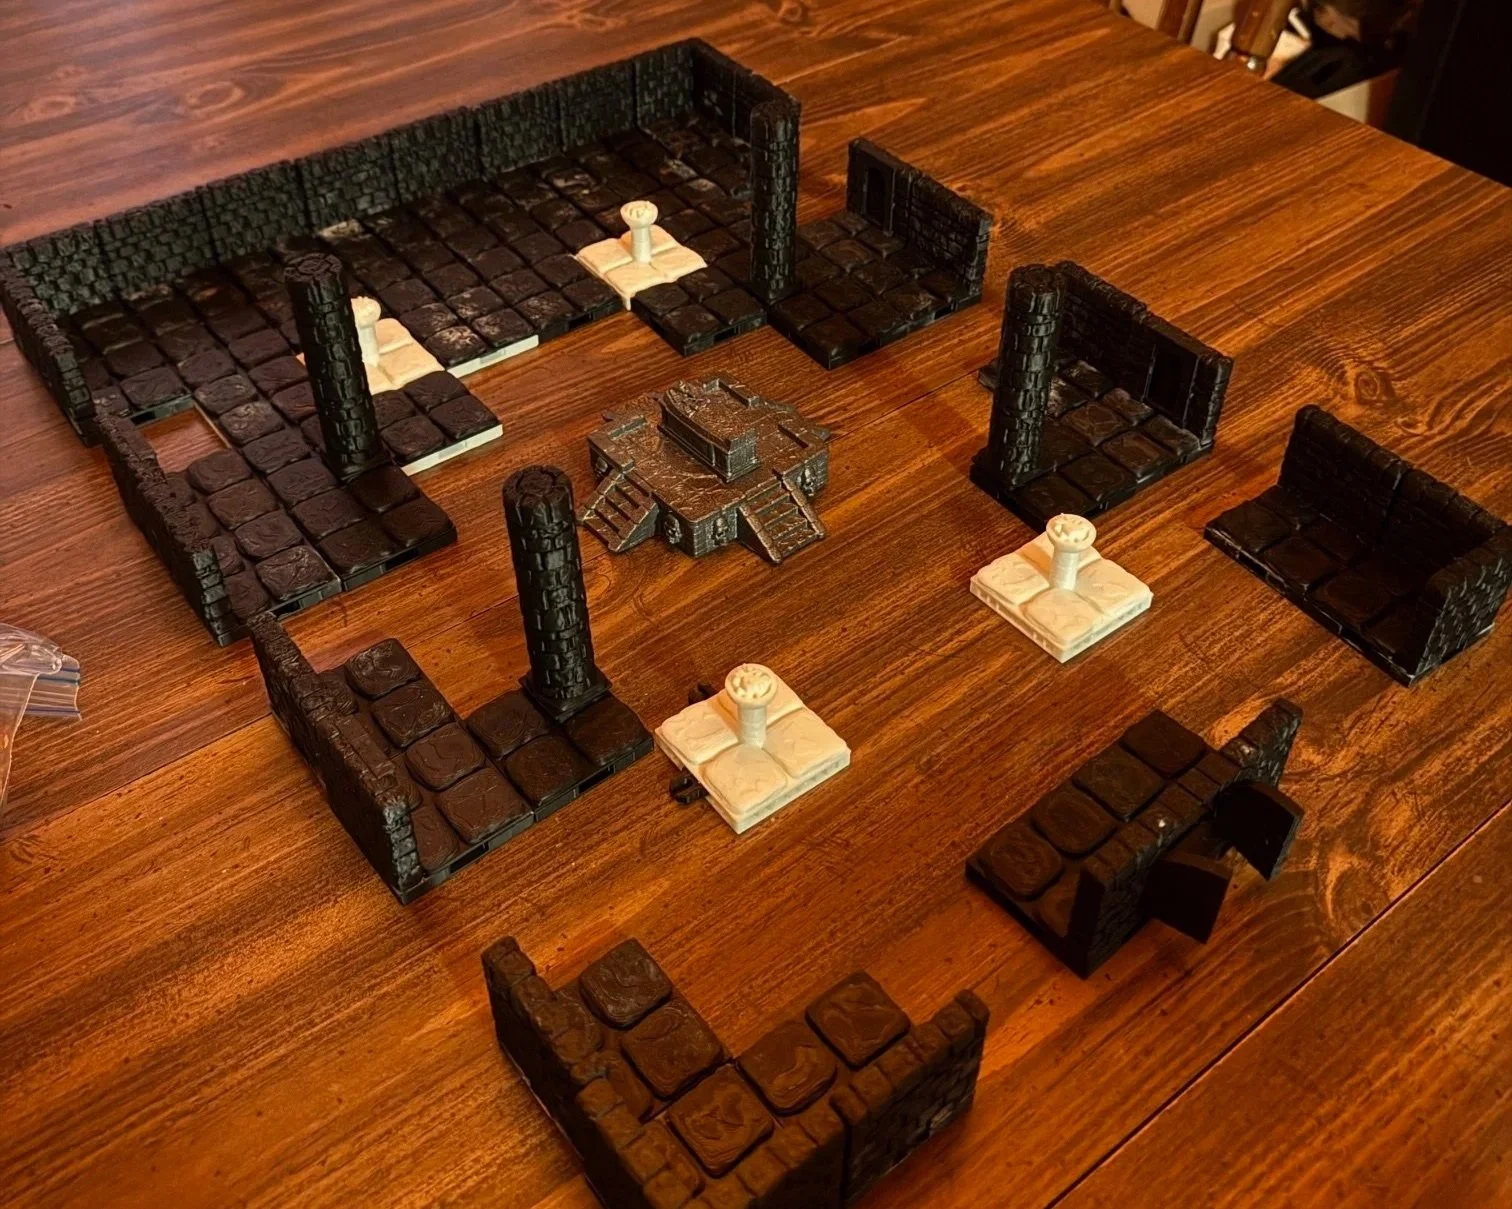
Testing the layout before the room was fully assembled.
From Printer to Battlefield
Before any of that could happen, there was a lot of printing and painting.
The walls, floors, pillars, and other modular pieces were printed separately so I could build the room around the needs of the encounter rather than being locked into one permanent layout.
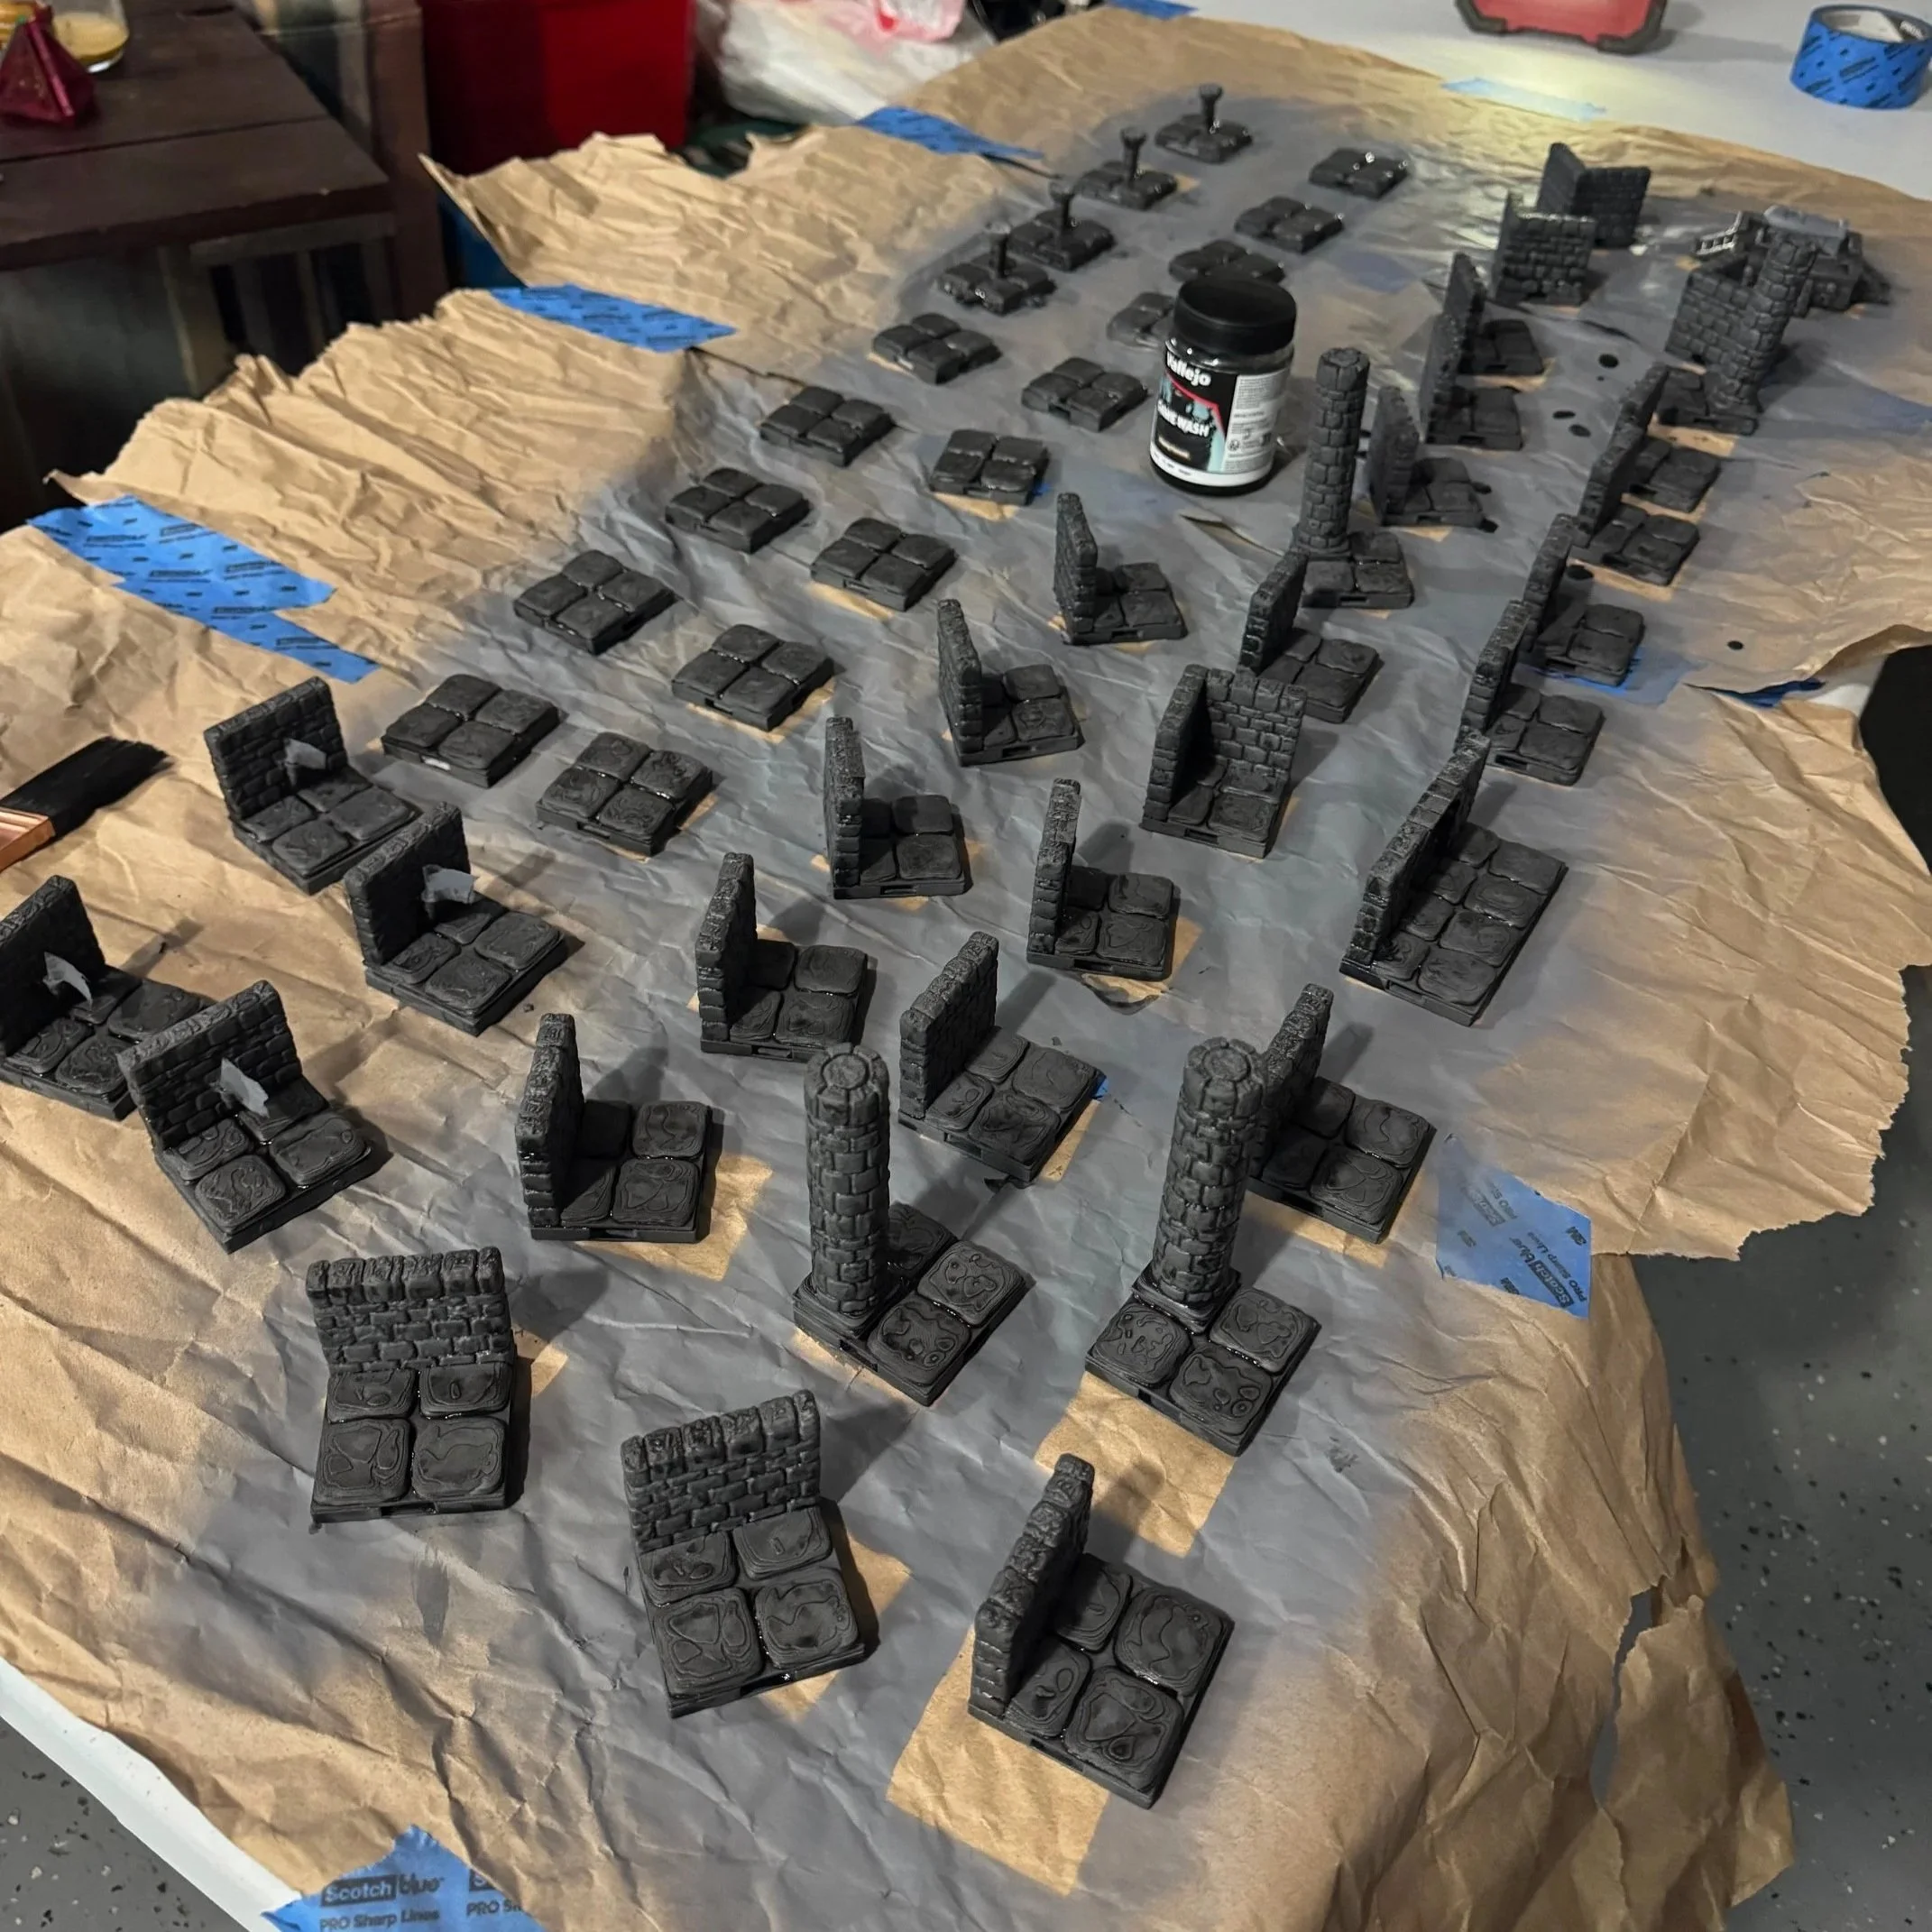
OpenForge 2.0 dungeon pieces being prepared and painted.
Once everything was printed, I worked through the terrain in batches so the stonework stayed visually consistent across the entire chamber.
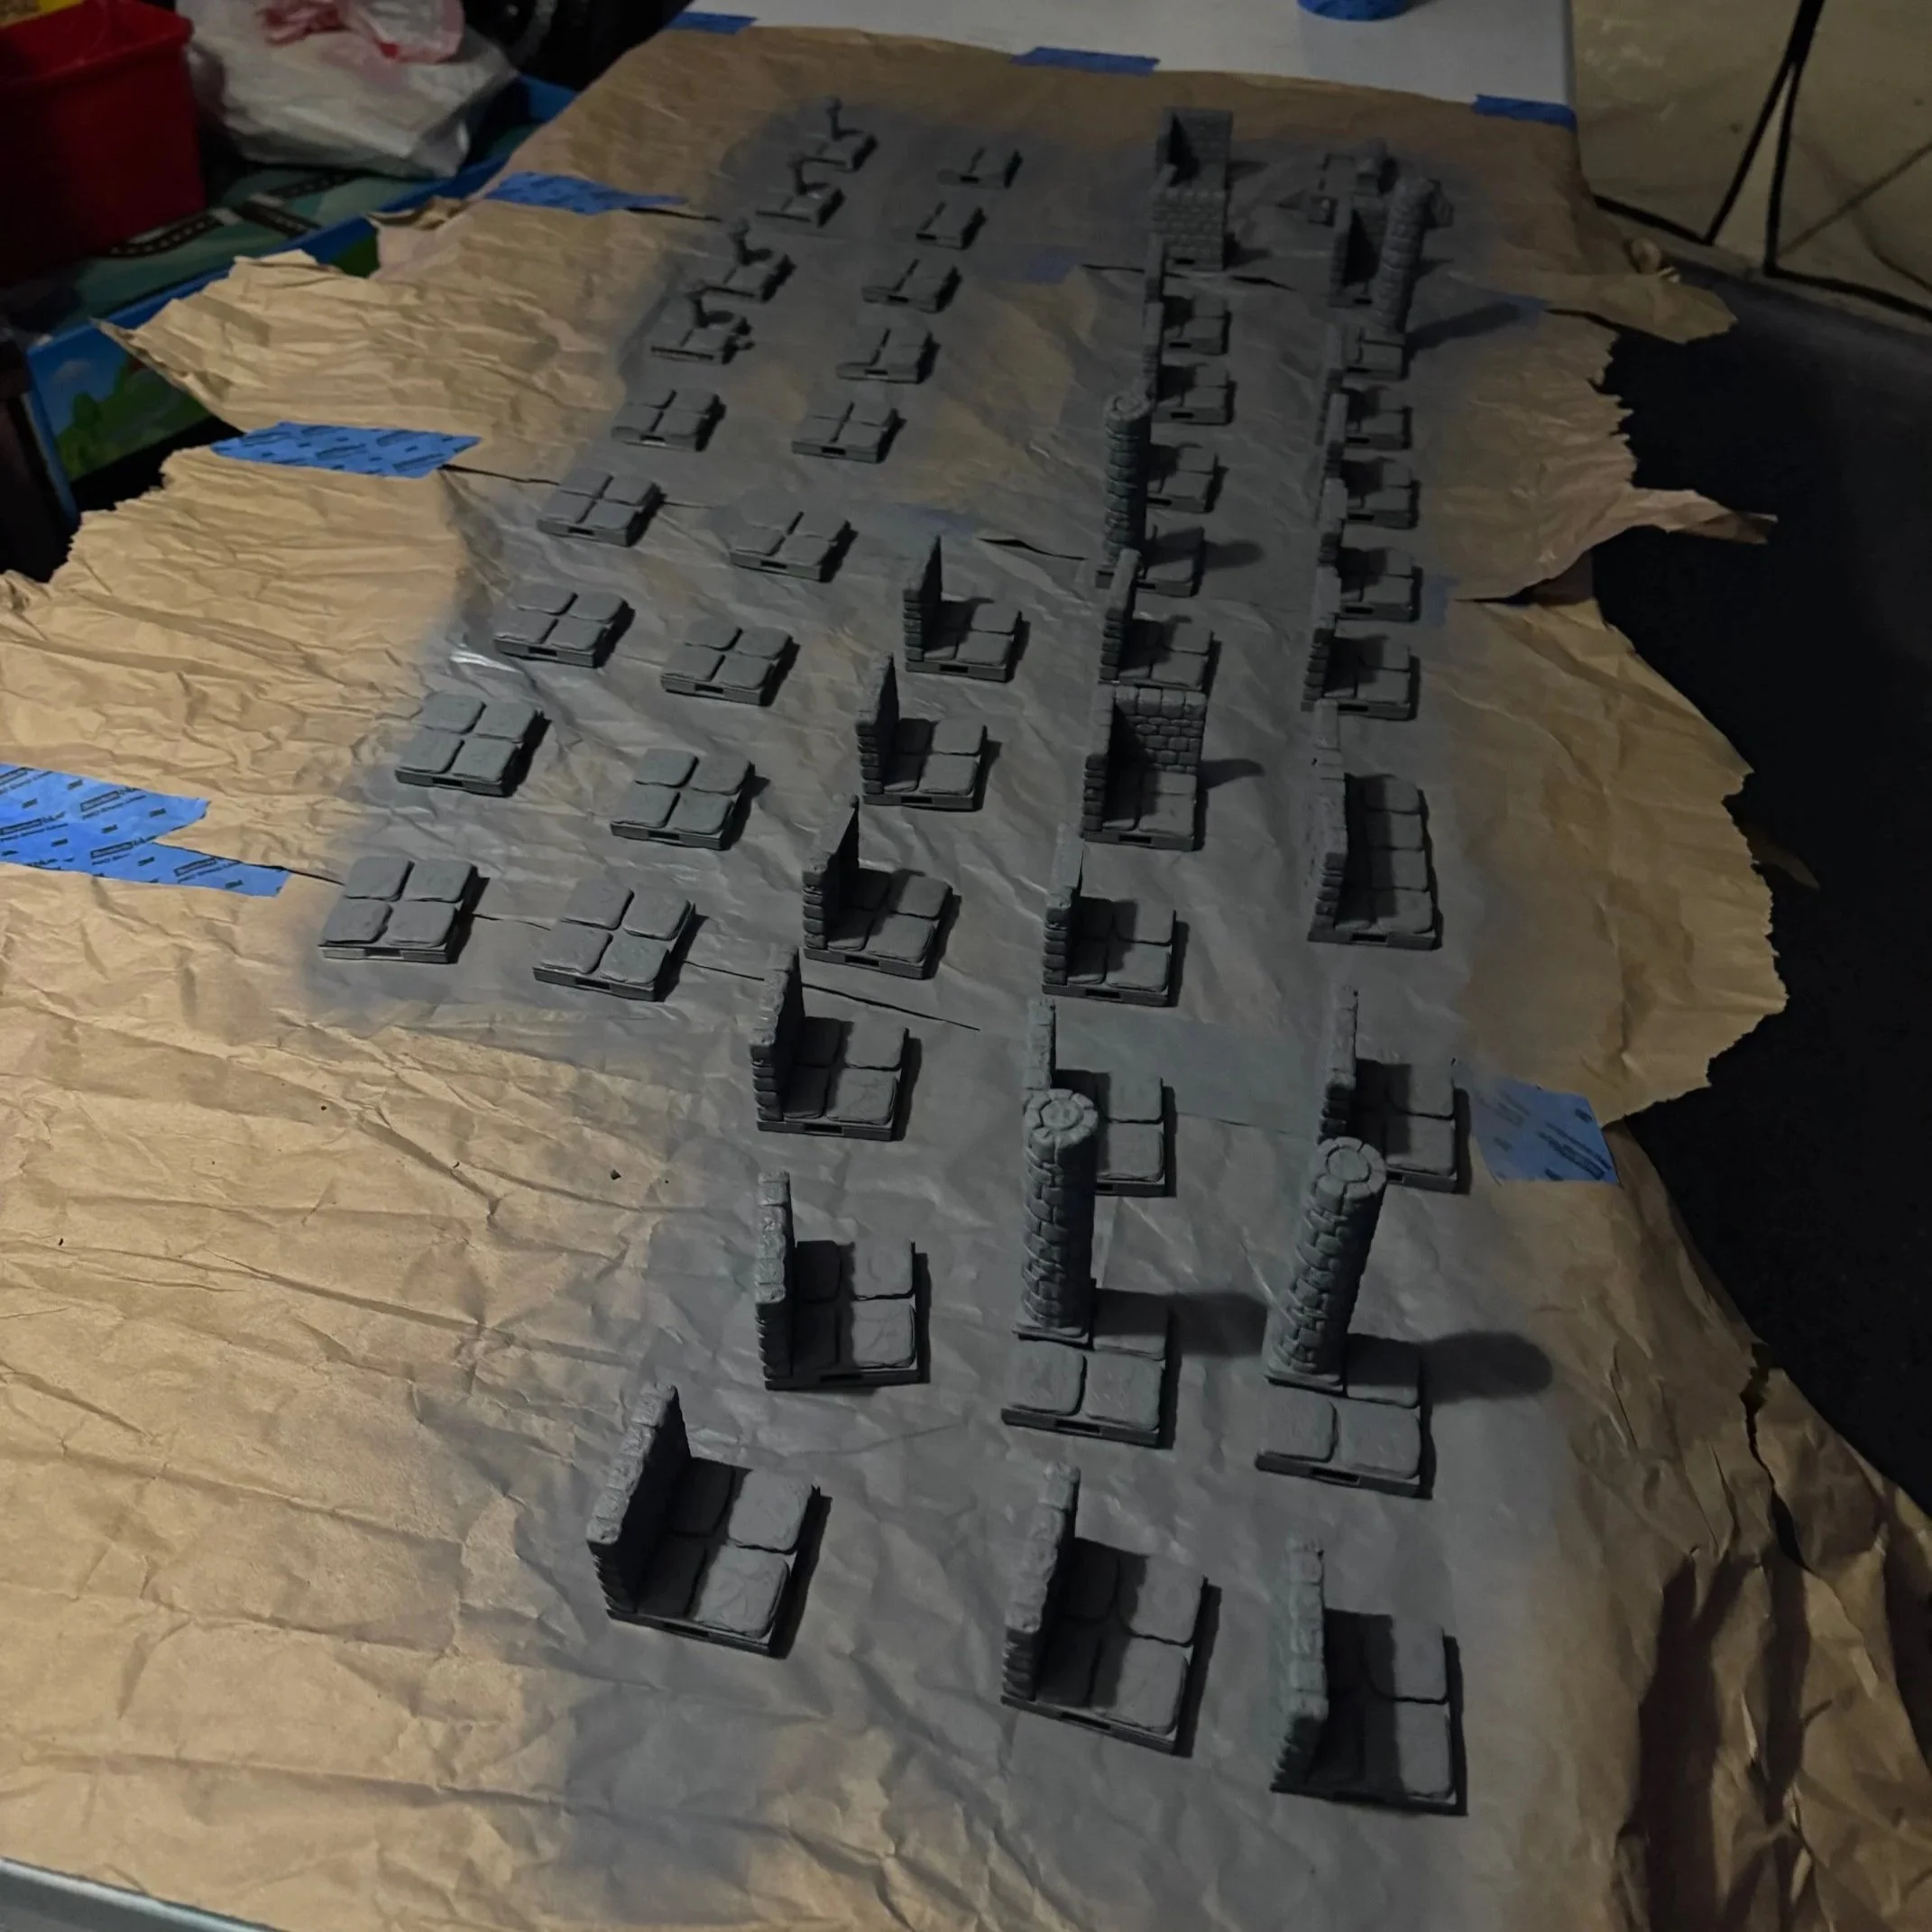
Dozens of individual pieces eventually became one encounter space.
Adding the Red Light
One of my favorite additions was modifying several wall sections to include red LED lights.
The final chamber needed its own visual identity, and the lighting immediately changed the feel of the room. Instead of looking like another stone dungeon, the red glow gave it a ritualistic atmosphere and helped reinforce that the players had reached somewhere important.
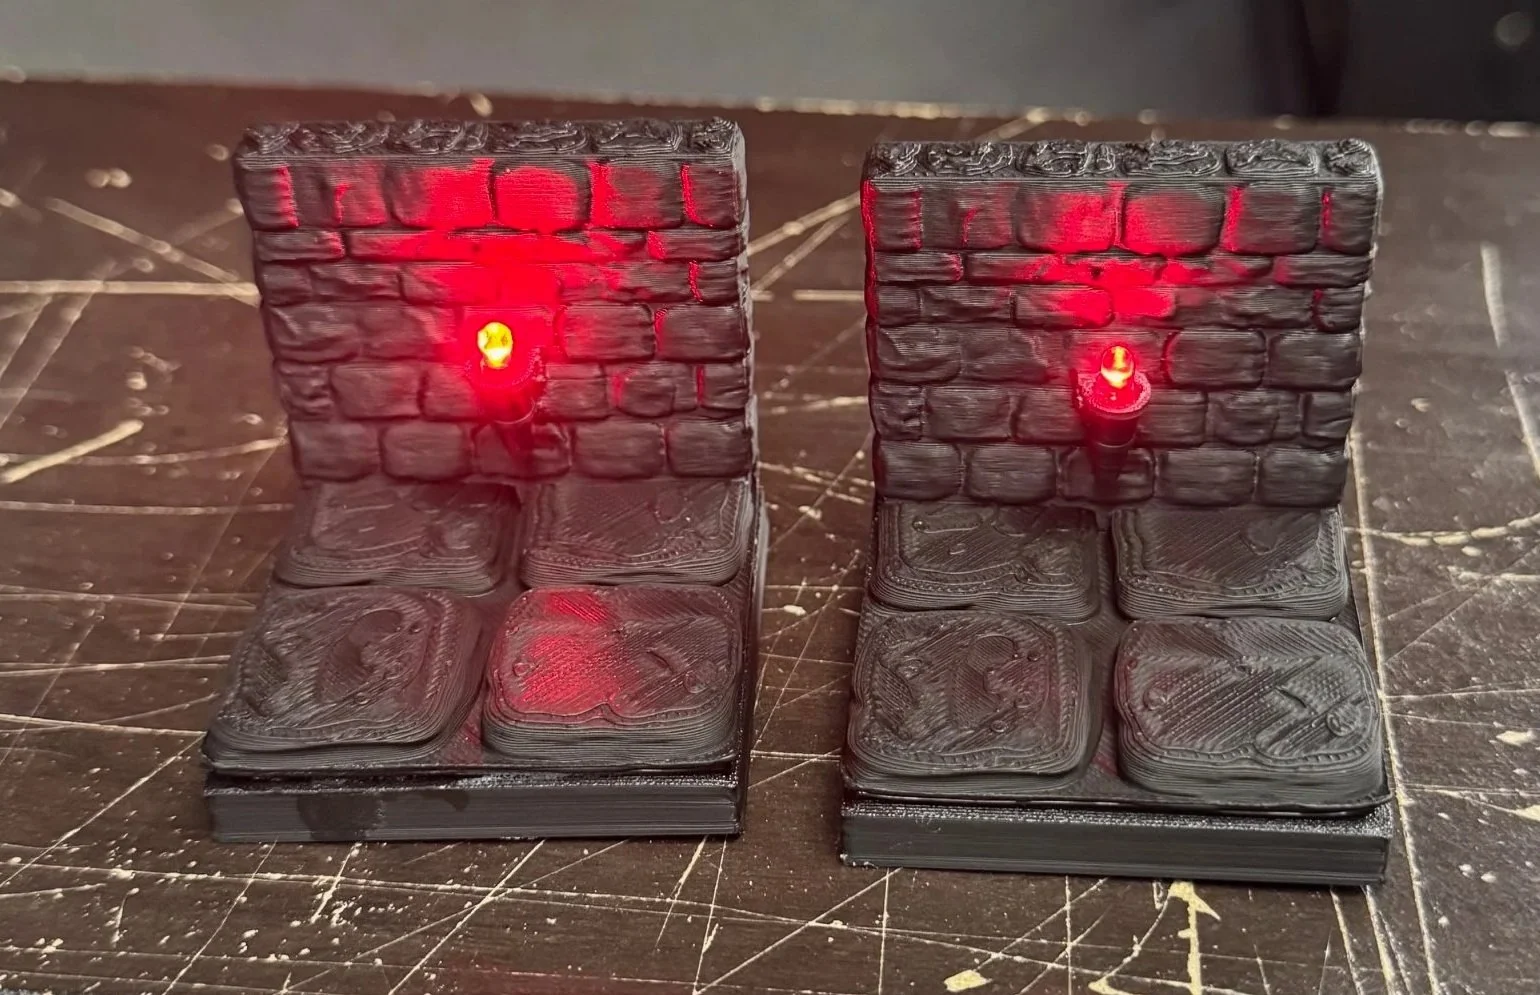
Modified dungeon walls with built-in red LED lighting.
Once those walls were placed around the arena, the light reflected across the stone floor and miniatures and did a surprising amount of work setting the mood.
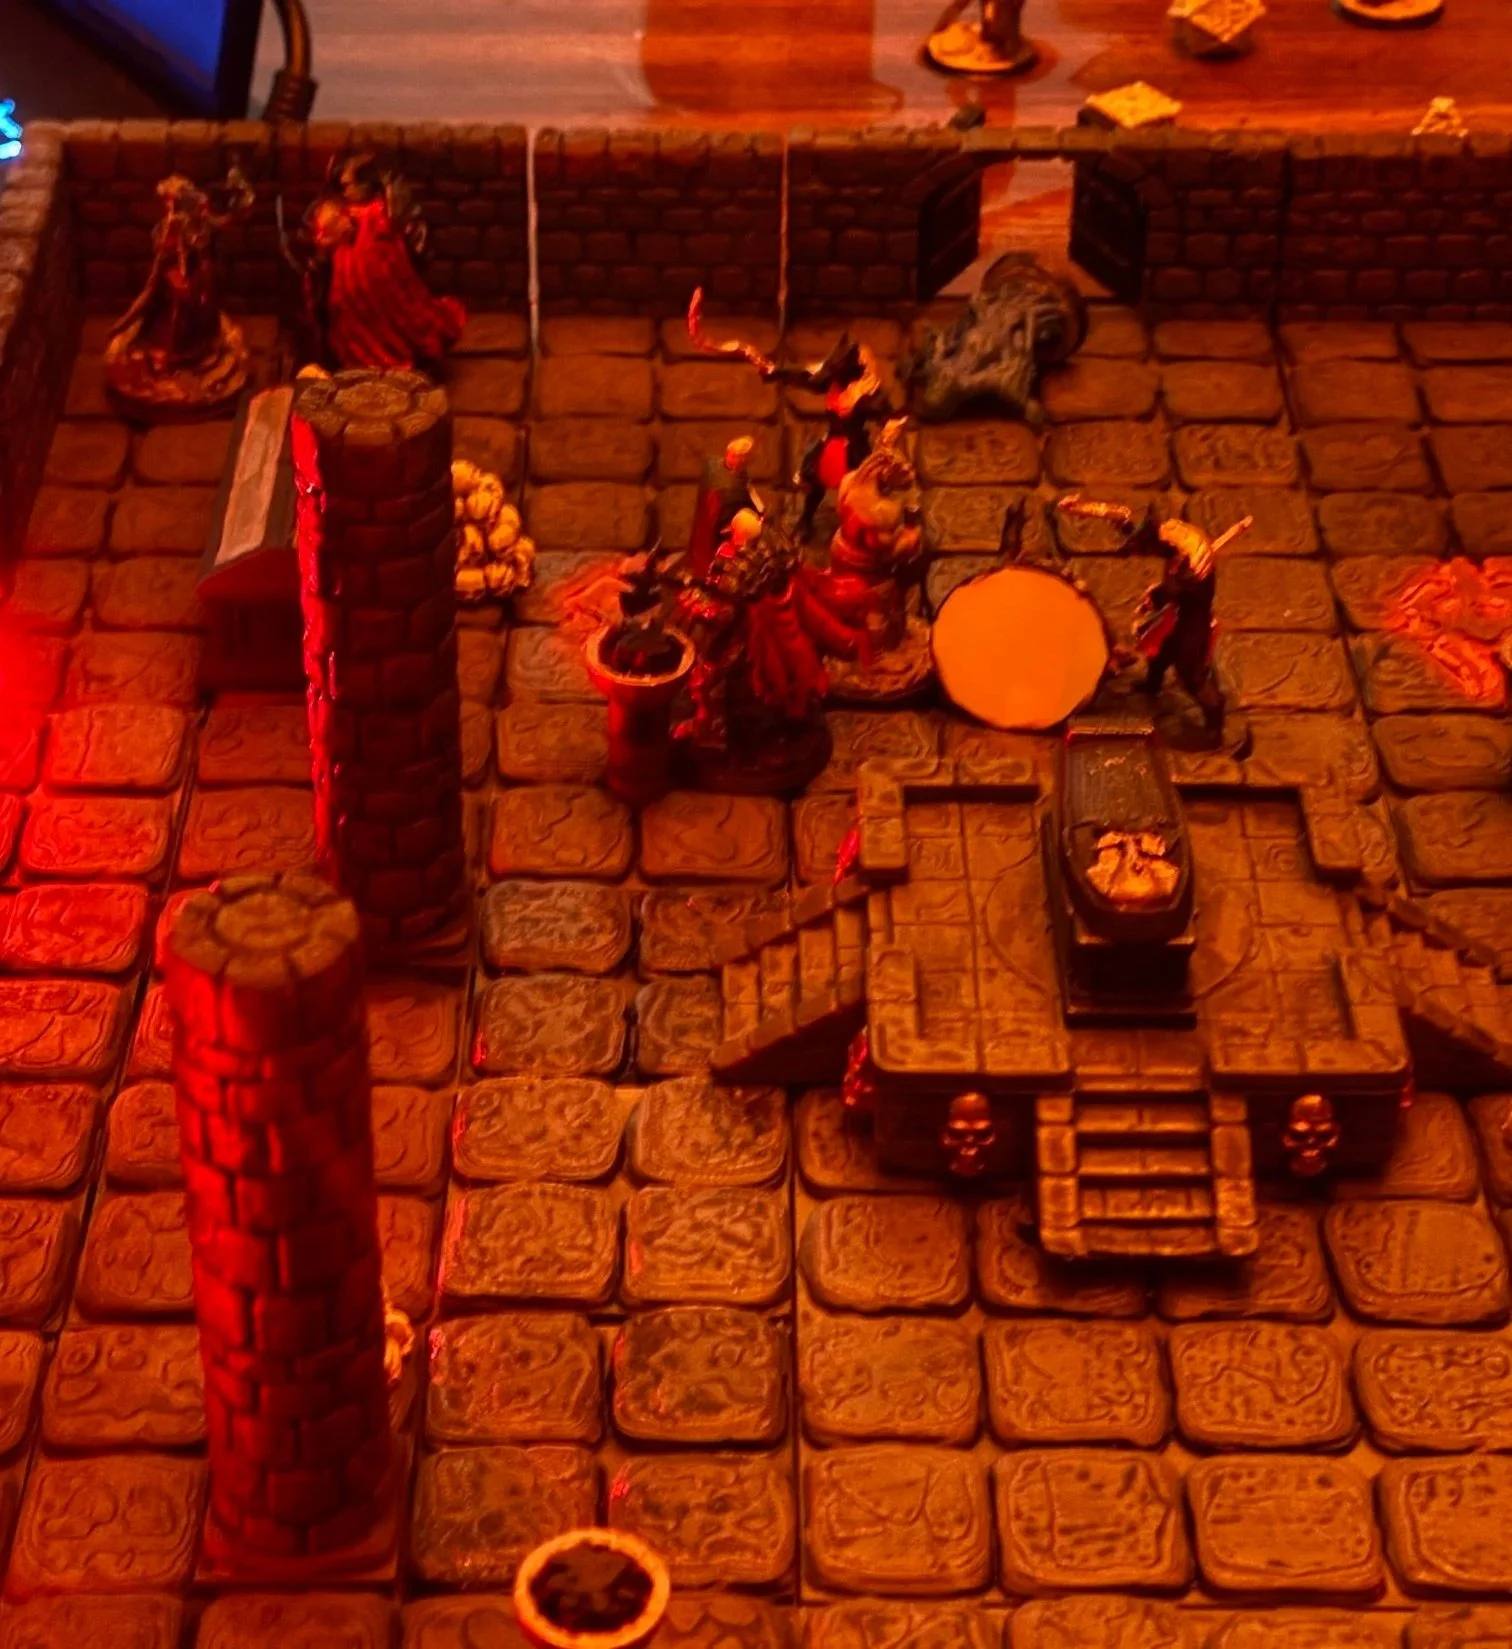
The red lighting in action during the encounter.
The Final Encounter
The terrain was only half of the project.
I also prepared the miniatures for the battle itself, including the BBEG, his royal guards, and the ushabti warriors waiting inside the chamber.
I wanted the players to walk into the room and immediately understand that this was different from everything that came before it.
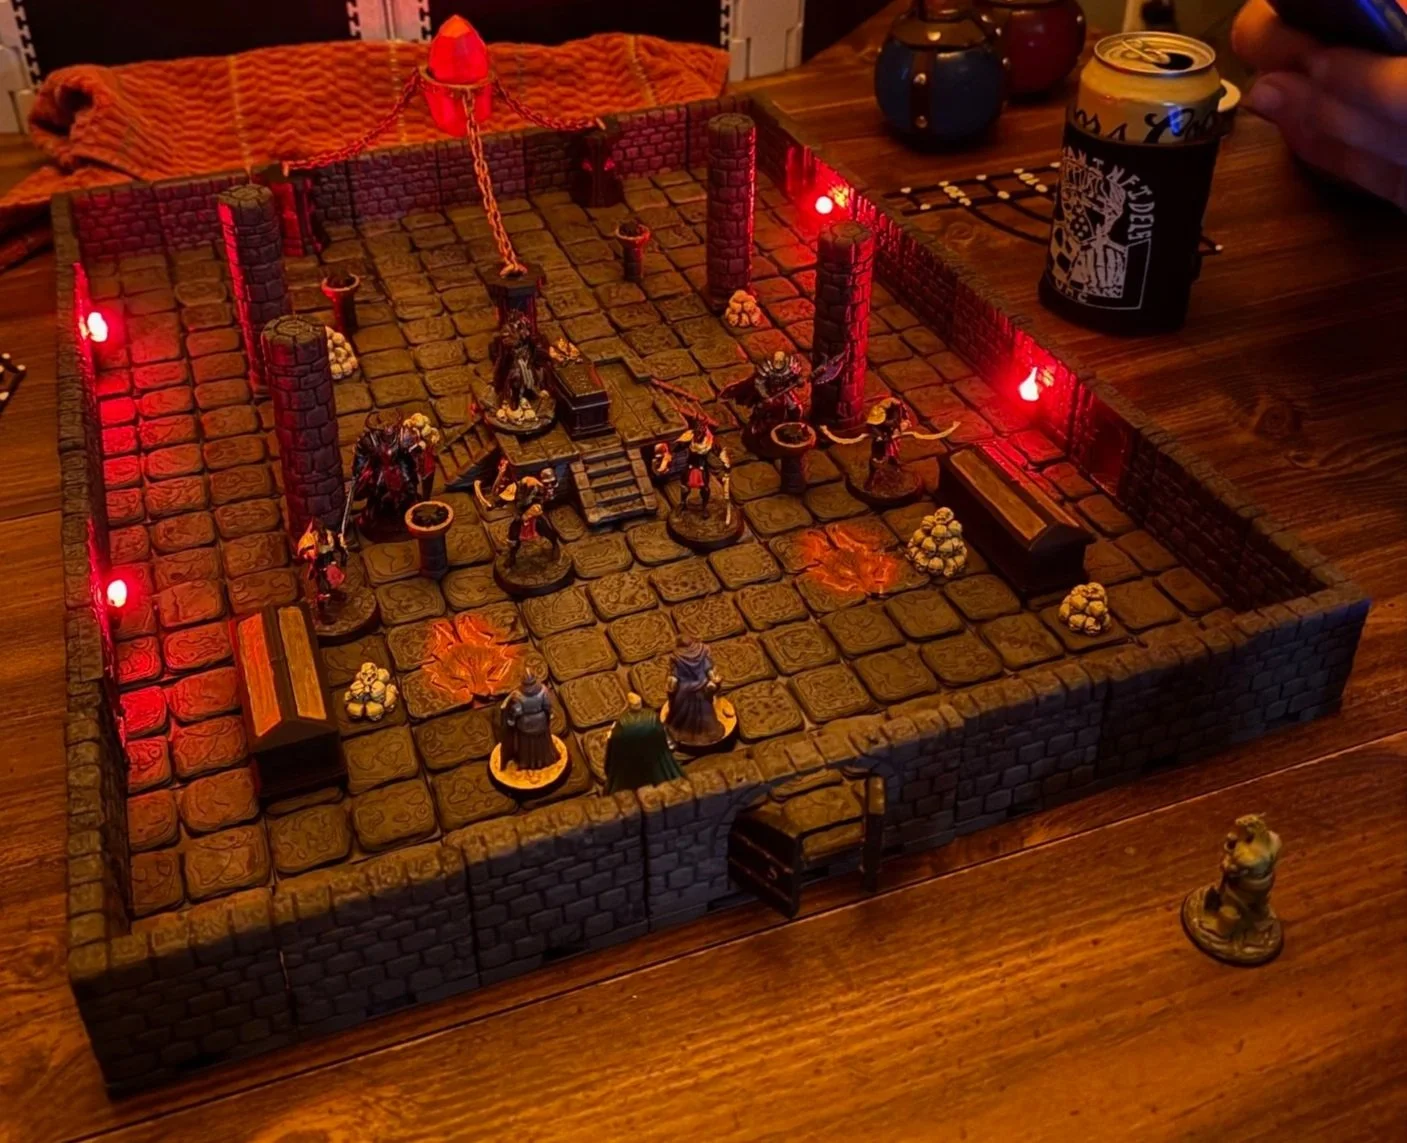
The party entering the final chamber.
The goal was never just to make something that looked impressive in a photograph. It still had to function as a playable battle map. Players needed room to move, enemies needed meaningful positions, and the terrain needed to help tell the story without getting in the way of the game.
That balance between presentation and usability is one of my favorite parts of building encounters like this.
From the Page to the Table
Writing the adventure is one part of creating a world.
Seeing that world physically sitting on the table is something completely different.
The terrain, miniatures, lighting, and encounter design all came together to create the final confrontation my group had been traveling toward throughout The Tomb Beneath the Red Sands.
For me, this is where tabletop gaming really comes alive: when writing, game design, miniature painting, terrain building, and a group of players all collide at the same table.
There will be plenty more from the workbench and the game table in future entries of the Expedition Log.
Enter Boldly.
